Brass door knockers add classic charm to entryways, but they require regular cleaning to maintain their luster. This guide provides practical, safe steps for American homeowners to restore brightness without damaging the finish. By following the techniques below, you can effectively remove tarnish, fingerprints, and grime using common tools and dedicated brass cleaners.
The process emphasizes gentle cleaning, thorough drying, and mindful maintenance to keep your door hardware looking polished for years to come.
Quick Answer
Apply a brass cleaner or paste with a soft cloth, gently rub the surface, rinse with water, and buff dry with a microfiber cloth. For stubborn tarnish, use a nylon bristle brush, then re-polish with a brass cloth or polishing kit. Always dry completely to prevent spots or corrosion.
What You’ll Need
- brass door hardware cleaner and polish kit
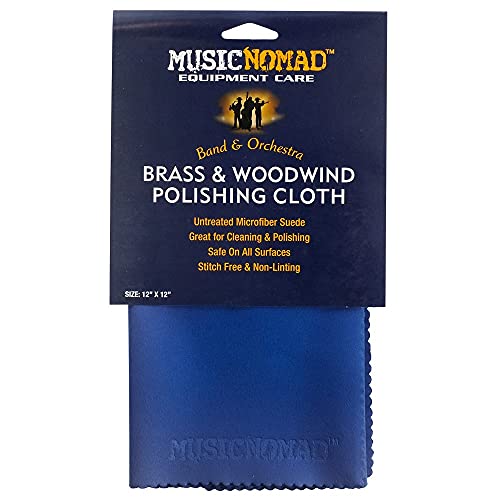
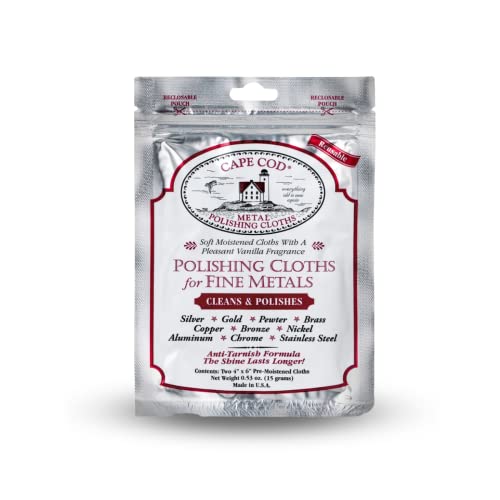
- brass polishing cloth set for hardware
- nylon bristle brass cleaning brush for door knockers
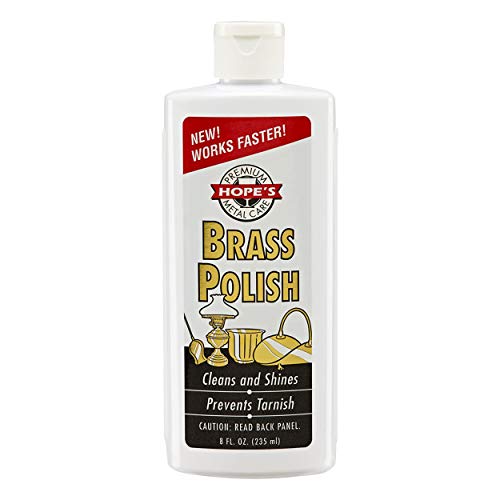
- brass cleaner paste 8 oz for brass fixtures
- soft microfiber cleaning cloths for brass hardware polishing
Before You Start
Before cleaning, identify the finish type on the door knocker. Most brass pieces are lacquered to resist tarnish, but some may be raw brass. If the piece is lacquered, use non-abrasive cleaners to avoid stripping the coating. Test a small, inconspicuous area first to ensure there is no discoloration. Work in a shaded area to prevent quick drying, which can cause streaks. Estimated time: 20–40 minutes for thorough cleaning and polishing.
Step-By-Step: How To Clean A Brass Door Knocker
- Remove the door knocker if possible to simplify cleaning and prevent cleanser drips onto the door surface.
- Dust the knocker with a soft microfiber cloth to remove loose dirt and debris.
- Apply a small amount of brass cleaner paste to a soft cloth or pad; avoid applying directly to the hardware.
- Gently rub the knocker in small, circular motions to lift tarnish and grime; focus on intricate details and around rivets.
- For stubborn tarnish, use a nylon bristle brass cleaning brush with light, even pressure along the grain of the brass.
- Rinse away cleaner with a damp cloth or wipe with a rinse of water if the product’s instructions permit; ensure no residue remains.
- Dry the knocker completely with a clean microfiber cloth to prevent water spots and oxidation.
- Apply a brass polish from the kit using a soft cloth; buff in a circular motion until the surface shines.
- Reattach the knocker to the door and test its movement; apply a light final wipe for a uniform sheen.
- Store leftover products in a cool, dry place away from children and pets; follow label instructions for shelf life.
- Schedule routine maintenance every 3–6 months, or after seasons with high humidity or rain exposure.
- If the knocker shows dullness after polishing, repeat the process or consider a light protective coating suggested by the cleaner kit.
Troubleshooting
| Symptom | Likely Cause | Fix | Prevention |
|---|---|---|---|
| Dull, uneven finish after cleaning | Residual cleaner or polishing compounds | Wipe with a clean microfiber cloth and re-polish | Wipe promptly and use thin coats |
| Streaks or water spots | Incomplete drying | Dry thoroughly with microfiber; buff final pass | Dry sections as you go |
| Scratches on brass surface | Abrasive brush or aggressive scrubbing | Switch to softer cloths; use minimal pressure | Use gentle cleaning methods |
| Patchy tarnish reappears | Improper sealant or no sealant on lacquered finishes | Reapply appropriate protective product per instructions | Maintain with periodic light cleaning |
Common Mistakes
- Using highly abrasive pads on lacquered brass
- Over-wetting surfaces, leaving water marks or corrosion risks
- Skipping a test area before full application
- Rushing the drying step, causing streaks
Tips For Best Results
- Choose a cleaning kit that includes both a cleaner paste and a dedicated polish for consistent results.
- Always follow product instructions, especially regarding rinsing and drying requirements.
- Polish in the same direction on flat areas to minimize visible brush lines.
- Protect lacquered brass with a light, compatible sealant after cleaning if recommended by the cleaner kit.
- For outdoor knocker hardware, perform cleaning during dry weather to reduce moisture exposure.
Call A Professional
Seek professional help if the brass knocker is deeply pitted, severely corroded, or if the finish is flaking. If you notice structural looseness or hardware cannot be safely reinstalled, contact a qualified hardware specialist or carpenter. Avoid attempting major repairs that could compromise door frame integrity or warranty terms.
FAQ
Can I use household vinegar to clean brass door knockers?
Vinegar can be effective for brass but may strip protective coatings. Use only if the piece is known to tolerate acidity, and test first on a small area.
Is it safe to remove the door knocker for cleaning?
Yes, removing the knocker makes cleaning easier and safer, especially around intricate designs.
How often should I clean a brass door knocker?
Clean every 3–6 months, or sooner if tarnish or fingerprints accumulate quickly.
What if my knocker has no lacquer coating?
Use a brass cleaner paste and cloth, being mindful of avoiding harsh abrasives that could scratch the surface.
Buying Guide
When selecting brass cleaning materials, consider size, finish, and ease of use. For larger knockers or ornate designs, a complete brass door hardware cleaner and polish kit paired with a nylon bristle brush helps reach crevices. Look for soft microfiber cloths and a dedicated brass polishing cloth set to ensure safe, even buffing. Energy-efficient products aren’t typically a concern here, but choose non-abrasive formulas to preserve finishes. For placement, consider exterior doors exposed to weather and indoor doors with lacquered finishes. Always confirm compatibility with your knocker’s finish and consult product labels for any restrictions.