Creaming a clean, streak-free finish on cupboard doors helps rooms feel brighter and more organized. This guide covers practical steps and common tools to remove grime, fingerprints, and soap scum from a variety of cabinet surfaces found in American homes.
Quick Answer
For most cabinet doors, use a gentle cleaner with a soft cloth, then tackle stubborn spots with a nylon scrub brush. Dry with a microfiber cloth to avoid water spots. For glass-front doors, a squeegee helps prevent streaks. Always test a small area first and avoid harsh solvents on painted or veneered surfaces.
What You’ll Need
- nylon scrub brush for kitchen cabinet doors non-scratch
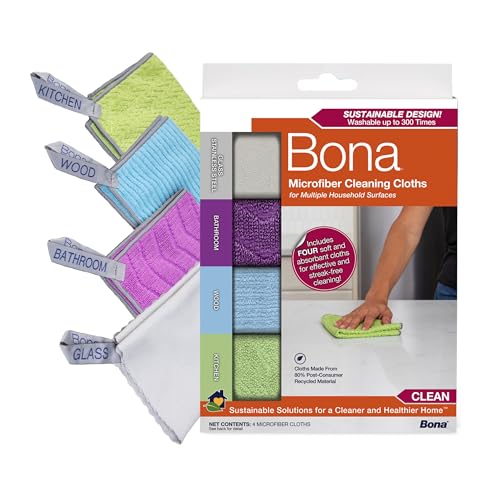
- microfiber cleaning cloth set for cabinet doors
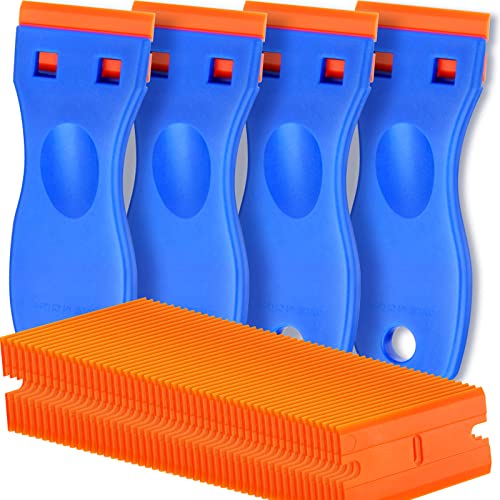
- plastic scraper tool for cabinet door grime
- squeegee for glass cabinet doors cleaning
- trigger spray bottle for cleaning solutions cabinet maintenance

Before You Start
Clear countertops and remove items from the cupboards or doors being cleaned. Use a mild cleaning solution (neutral pH) and a soft cloth to protect finishes. Protect wood tones by avoiding excess moisture, which can cause warping. Empty doors or remove hinges if needed for thorough access, and work in a well-ventilated area. Plan for a 20–40 minute session per cabinet set, depending on size and finish.
Step-By-Step: How To Clean Cupboard Doors
- Dust the surface with a dry microfiber cloth to remove loose debris.
- Prepare a cleaning solution in the spray bottle, mixing water with a small amount of mild dish soap or a pH-neutral cleaner.
- Lightly mist a small area and wipe in the direction of the grain or along the door panels with a microfiber cloth.
- For stuck-on grime, use a nylon scrub brush gently to avoid scratching the finish. Focus on corners and recessed areas.
- For glass-front doors, use a squeegee to remove cleaner from the glass, then wipe frame edges with a cloth.
- If residue remains, use a plastic scraper tool to lift grime carefully without gouging the surface.
- Rinse by wiping with a cloth dampened with clean water to remove soap residue.
- Dry thoroughly with a clean, dry microfiber cloth to prevent streaks and water marks.
Troubleshooting
| Symptom | Likely Cause | Fix | Prevention |
|---|---|---|---|
| Streaks on glass | Soap residue or improper drying | Use a squeegee and dry with a microfiber cloth | Dry surfaces promptly after cleaning |
| Scratches on painted wood | Excessive scrubbing or abrasive tools | Switch to a softer cloth and gentler cleaner | Avoid scrubbing in circular motions; test on a hidden area |
| Warping from moisture | Soaking with water or spills left unaddressed | Wipe spills immediately and limit water exposure | Use minimal moisture and dry well |
| Sticky residue after cleaning | Grease buildup | Re-clean with a neutral cleaner and rinse | Clean regularly to prevent buildup |
Common Mistakes
- Using harsh solvents on painted or veneer surfaces
- Applying too much moisture to wood cabinets
- Over-wetting microfiber towels, leaving damp patches
- Skipping a test spot before full cleaning
Tips For Best Results
Sanitize and refresh cabinet doors by finishing with a light, even buff using a dry microfiber cloth. For high-traffic kitchens, schedule a monthly wipe-down that targets handles and edges. Consider labeling spray bottles with dilution ratios to ensure consistent cleaning strength. When cleaning a large area, work in sections to avoid drying lines.
Call A Professional
Seek professional help if cabinet doors suffer significant damage such as peeling veneer, deep gouges, or softening wood around hinges. If moisture damage has caused warping that impedes door movement or alignment, a pro can assess structural needs and advise on refinishing or replacement options.
FAQ
Can I use vinegar to clean cupboard doors?
Vinegar can be effective for glass and some metal handles but test it on delicate finishes first, as it may affect certain coatings over time.
What if my doors are painted or stained?
Use a mild, non-abrasive cleaner and soft cloth; avoid ammonia-based solutions that can dull finishes. Always test in a hidden area.
How often should I clean cabinet doors?
In busy kitchens, perform a light wipe-down weekly and a deeper clean every 4–6 weeks.
What tools prevent scratches?
A nylon scrub brush in gentle strokes, microfibre cloths, and a plastic scraper are effective without scratching surfaces.
Is a vacuum helpful before wiping?
A quick dusting with a soft brush attachment can remove loose debris before damp cleaning.
Should I remove doors for cleaning?
Removing doors can help reach inner edges and hinges; rehang carefully and check alignment after cleaning.
Buying Guide
Choosing the right cleaning setup for cabinet doors depends on surface type, usage, and finish. Consider size and weight when selecting tools or accessories for frequent maintenance. Noise level matters for household peace, especially in open-plan spaces or early morning cleans. Energy efficiency is not typically a factor for cleaning gear, but low-energy gadgets like battery-powered small scrub brushes can save time without a big footprint.
Key Buying Factors
- <bSize and reach of tools allow cleaning higher cabinets without overreaching
- <bNoise level for comfortable, quiet operation in living spaces
- <bEnergy efficiency in any motorized tool or spray bottle that uses a refillable reservoir
- <bControls simple spray-trigger operation and ergonomic grips reduce fatigue
- <bPlacement consider how often doors are cleaned and how that fits into kitchen routines
When comparing kits and individual items, look for non-scratch, neutral-cleaning options that suit your cabinet finishes. A balanced collection—nylon scrub brush, microfiber cloths, a plastic scraper, a squeegee for glass, and a spray bottle—covers most cleaning scenarios. Don’t forget to test any new product on a small, inconspicuous area first to avoid accidental damage. Ready-to-use cleaning tools can dramatically cut your cabinet maintenance time while keeping surfaces looking fresh and well cared for.