Over time, cloudy or yellowed headlights can reduce nighttime visibility and degrade the look of a vehicle. Some DIY enthusiasts reach for Coca-Cola as a cleaning aid due to its mild acidity and carbonation. This article covers a practical approach to refreshing headlights using Coca-Cola safely, while also outlining professional-grade options for longer-lasting results.
The method described blends common household steps with optional workshop tools to improve results. While Coca-Cola can help remove surface grime, deeper oxidation usually benefits from dedicated restoration products. Readers should weigh convenience, cost, and desired longevity before choosing a method.
Quick Answer
Short version: Rinse the headlight, soak a microfiber cloth in Coca-Cola, wipe the lens gently, rinse, dry, and inspect. For stubborn haze, add a light abrasive step with a headlight restoration kit and seal with a protectant.
Better long‑term results: Use a dedicated headlight restoration kit with sanding blocks and polishing pads, followed by a sealant to protect the surface.
What You’ll Need
- Headlight restoration kit abrasive compound — provides controlled abrasion to remove oxidation
- Microfiber cloth for headlight polishing — soft, non‑abrasive cleaning cloths
- Car headlight polishing pad kit — for even coverage during polishing
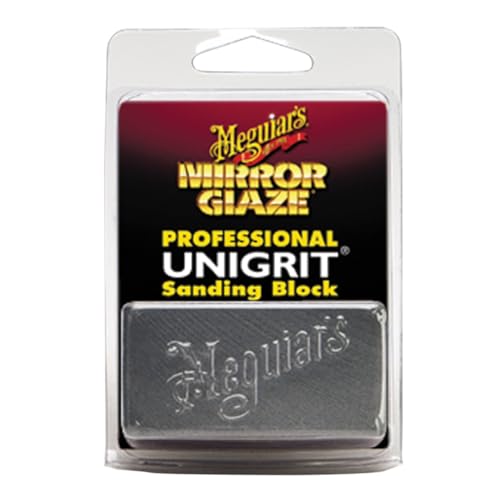
- 1200 2000 grit sanding block for headlights — to smooth the lens after initial abrasion
- Headlight sealant and protectant kit — to lock in clarity and resist future staining


Before You Start
Before beginning, park in a shaded area and ensure the vehicle is cool. Protect surrounding surfaces with painter’s tape to avoid overspray. Work in a well‑ventilated space. Time estimate: 45–90 minutes depending on lens condition. Warning: Avoid using strong household cleaners that can harm plastic lenses, and do not rub aggressively, which can scratch the surface.
Step-By-Step: How To Clean Headlights With Coca-Cola And More
- Rinse the headlight with water to remove loose dirt and debris.
- Wipe the lens with a microfiber cloth lightly dampened with Coca-Cola, focusing on dull or yellowed areas.
- Rinse again with water and dry with a clean microfiber cloth.
- Apply a small amount of abrasive compound from a headlight restoration kit to a polishing pad or microfiber cloth.
- Gently rub the lens in a straight, overlapping motion for 1–2 minutes to remove oxidation and surface haze.
- Wipe away residue and inspect; repeat the abrasion step if cloudiness persists, using a finer grit if needed (e.g., 2000 grit).
- Rinse and dry the lens completely, then apply headlight sealant and protectant kit according to manufacturer instructions.
- Let the sealant cure as directed, typically a few hours, and test with a light wipe to confirm clarity and water beading.
Troubleshooting
| Symptom | Likely Cause | Fix | Prevention |
|---|---|---|---|
| Persistent cloudiness after polishing | Deeper oxidation or embedded staining | Step up to a finer grit and re‑polish; consider a full restoration kit | Regular cleaning and sealant reapplication |
| Streaks or hazy film after sealant | Oil from residues or improper curing | Reclean with microfiber cloth and reapply sealant | Follow curing times precisely |
| Uneven clarity across the lens | Uneven pressure during polishing | Use even, light pressure and multiple passes | Use a quality polishing pad kit |
| Scratches after sanding | Overly aggressive abrasion | Use finer grit and less pressure | Test on a small area first |
Common Mistakes
- Overusing Coca-Cola as a primary cleaner for long‑term results
- Skipping masking and protective measures, leading to dashboard or paint contact
- Aggressive scrubbing that creates new scratches
- Rushing the sealant cure time, which reduces durability
Choosing the right workflow often means balancing quick improvements with lasting protection.
Tips For Best Results
- Pair Coca-Cola cleaning with a dedicated headlight restoration kit for best outcomes on oxidized lenses.
- Use a clean, microfiber cloth for every pass to avoid re‑depositing grime.
- Work in a consistent, well‑lit area to spot uneven wear early.
- Finish with a protective sealant to resist UV exposure and yellowing in the future.
Call A Professional
Stop and call a professional if any of the following occur: persistent hazing after multiple restoration attempts, deep scratches or pitting that affect beam pattern, or if the headlight housing appears cracked or water‑logged. Complex lens damage may require replacement or factory restoration services to ensure safety and compliance with vehicle lighting standards.
FAQ
Can Coca-Cola damage my headlight?
Using Coca-Cola as a surface cleaner is generally safe for light grime, but it should not replace proper restoration steps for oxidation or deep haze.
Is a headlight restoration kit necessary?
For best long‑term results, a kit with abrasive compounds, sanding blocks, and polish provides superior clarity and durability.
How long does a sealant last?
Durability varies by product and driving conditions, but many sealants last several months with proper maintenance.
Will this fix yellowed headlights permanently?
Most surface yellowing can be improved significantly, but persistent oxidation may require sanding and professional refinishing.
Can I use Coca-Cola on all car headlights?
Results vary by lens material and condition; always test on a small area first and follow with proper restoration steps if needed.
Buying Guide
When choosing headlight restoration supplies, consider these factors to ensure you pick a kit that fits your needs and vehicle. Do you want rapid improvements or longer‑lasting protection? How important is ease of use?
- Size and compatibility: Ensure the kit covers both headlights on your vehicle and includes appropriate adapters or pads for various lens sizes.
- Noise level and comfort during use: Some sanding and polishing steps can be louder; select tools with comfortable grips and minimal vibration if you plan frequent use.
- Energy efficiency and performance: Manual methods rely on your effort, while powered kits may deliver faster results with consistent results.
- Controls and ease of operation: Look for kits with clear instructions, integrated hooks for pads, and simple application methods.
- Placement and storage: A compact kit fits in the garage or trunk; consider a case or bag for organization.
- Durability and warranty: Check if the kit includes a protective sealant and whether the manufacturer offers a warranty.
- Pricing and value: Balance cost with included components such as sanding blocks, polishing pads, and sealants.
For many drivers, starting with a simple Coca-Cola cleaning approach is a quick test, but upgrading to a dedicated restoration kit yields clearer lenses and longer‑lasting protection. The right combination depends on the lens condition, climate, and how often the vehicle is used at night. If unsure, consult a professional to match the best approach to your car’s headlights.