Cleaning oven glass can restore a clear view into the oven cavity and improve overall kitchen cleanliness. This guide walks through a practical, step-by-step approach using common household tools and purpose-built cleaners to remove baked-on grease and carbon buildup without damaging the glass.
By following these steps, homeowners can achieve a streak-free finish while preserving the integrity of the oven door and its seal. The process is suitable for most freestanding and wall ovens with a tempered glass door.
Quick Answer
Best first step: remove the glass door if possible to access both sides; otherwise, turn off power and let the door cool. Apply a dedicated oven door glass cleaner spray, work in small circular motions with a specialized cleaning brush, wipe with a microfiber cloth, and finish with a streak-free wipe using a glass scraper tool only where needed.
What You’ll Need
- oven door glass cleaner spray
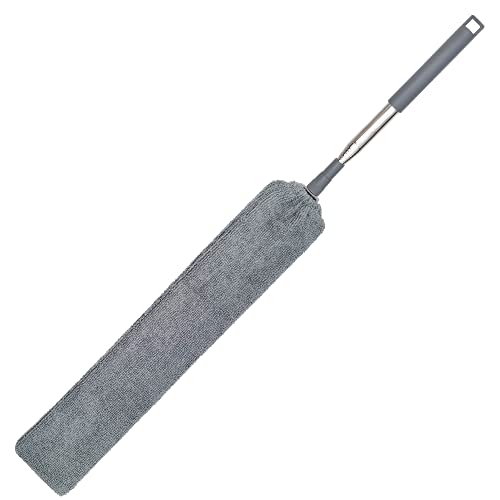
- oven glass cleaning brush
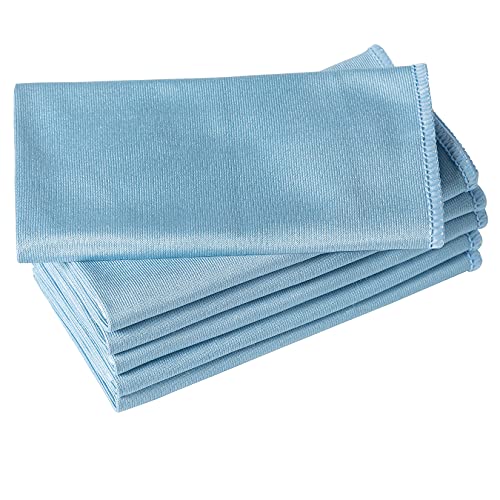
- microfiber cloth for oven glass cleaning
- oven door glass scraper tool
- streak-free oven window cleaning kit

Before You Start
Turn off the oven and unplug it if possible to avoid any electrical hazard. Ensure the oven has cooled completely before handling the glass door. Remove racks and lay a soft, non-abrasive mat underneath to protect surfaces. For safety, avoid using abrasive pads or harsh chemicals that could scratch or haze the glass. Expect a cleaning session to take 20–40 minutes depending on buildup and door design. Keep pets and children away during the cleaning process.
Step-By-Step: How To Clean Oven Glass
- Detach the glass door if your model allows it, following the manufacturer’s instructions. This grants full access to both sides of the glass.
- Generic spray a liberal amount of oven door glass cleaner spray on the exterior surface and let it sit for 30–60 seconds to loosen baked-on grease.
- Use the oven glass cleaning brush to agitate stubborn spots with gentle, circular motions. Work from the outer edges toward the center to prevent spreading grime.
- Wipe away loosened residue with a microfiber cloth for a first-pass clean. Fold the cloth to expose a clean surface and repeat until the glass looks clear.
- For tougher buildup, apply a light bead of cleaner and use the oven door glass scraper tool to lift baked-on film. Hold the scraper at a shallow angle and avoid gouging the glass.
- Turn the door over and repeat the cleaning process on the interior side, which often collects heat residue and splatter during cooking.
- Wipe both sides with a fresh microfiber cloth, ensuring no streaks remain. For best results, use a streak-free oven window cleaning kit specifically designed for glass surfaces.
- Reinstall the door according to the manufacturer’s directions. Check alignment and ensure the gasket sits evenly for a proper seal.
- Perform a quick wipe with a dry microfiber cloth one final time to catch any remaining moisture or smear marks.
- Run a brief bake cycle (without food) at a low temperature to dry any remaining cleaner residue and finalize the finish on the interior surface.
- Inspect the glass from different angles to ensure a clear, streak-free appearance before returning racks and items to the oven.
Troubleshooting
| Symptom | Likely Cause | Fix | Prevention |
|---|---|---|---|
| Areas remain cloudy after cleaning | Residue or mineral deposits | Reapply cleaner and use fresh microfiber cloths | Wipe with a damp cloth first, then dry |
| Streaks persist after drying | Cleaner residue or hard water streaks | Use streak-free kit and dry thoroughly | Wipe in one direction with a dry cloth |
| Scratches appear on glass | Abrasive tools used | Stop using abrasive brushes or metal scrapers | Use soft brushes and plastic scrapers only |
| Door still foggy after cleaning | Interior glass condensation | Ensure interior is dry; run a short bake cycle | Vent during cleaning to reduce moisture |
Common Mistakes
- Using abrasive pads that scratch the glass surface
- Spraying cleaner directly onto the hinges or seals
- Cleaning a hot door; wait for cooling to avoid burns
- Rubbing too hard, which can smear rather than lift grime
- Skipping the interior side cleaning when only exterior is tackled
Choosing the right tools helps prevent these missteps. A dedicated oven door glass cleaner spray, a microfiber cloth, and a glass scraper are usually enough for routine maintenance.
Tips For Best Results
- Work in a well-ventilated area to avoid inhaling chemical vapors
- Use a dedicated kit designed for oven glass to simplify the process
- Update routine maintenance by cleaning after heavy cooking to reduce buildup
- Store tools in a dedicated drawer for quick future cleanings
- Inspect the door seal during cleaning to spot signs of wear
Call A Professional
Consult a professional if the glass is cracked, chipped, or damaged, or if the interior glass panel is not properly sealed after cleaning. Signs of discoloration or heat damage that does not improve with cleaning warrant expert evaluation. If there is any uncertainty about removing the door safely, seek service guidance from the appliance manufacturer or a qualified technician.
FAQ
Can I use household glass cleaner on oven glass?
Yes, but it’s best to use a product formulated for oven glass to avoid residue and potential damage.
Is it safe to remove the oven door for cleaning?
Many models allow door removal for thorough cleaning, but always follow the manufacturer’s instructions.
How can I prevent streaks after cleaning?
Use a streak-free kit and a fresh microfiber cloth, and wipe in a single direction while drying.
How often should I clean oven glass?
Clean when buildup is visible, typically every few months with heavy use; more often if you bake greasy foods frequently.
What should I do if the glass appears hazy after cleaning?
Re-clean using a fresh cloth and cleaner, then dry thoroughly or consider a replacement if hazing persists.
Buying Guide
When selecting products to maintain and clean oven glass, consider factors such as cleaning performance, ease of use, and compatibility with your oven model. The following factors help compare options effectively:
- Size and fit: Choose a cleaner spray and brush set that suits the size of your oven door and the available interior space.
- Noise and ease of use: A handheld kit with a soft brush and non-abrasive cloth minimizes noise and effort during cleaning.
- Energy efficiency and odor: Most cleaners are low-odor; look for products labeled as low-VOC for a more pleasant experience.
- Controls and ergonomics: Ergonomic handles on brushes and scrapers reduce fatigue during longer cleaning sessions.
- Placement and storage: Keep cleaners, brushes, and cloths in a dedicated cabinet or bin near the oven for quick access.
For best results, pair a streak-free kit with a dedicated oven door glass cleaner spray and a microfiber cloth designed for glass surfaces. This combination helps achieve a clear, spotless finish with minimal effort. If your oven door design is unusual, consult the user manual or the manufacturer’s cleaning recommendations before choosing tools. Would you prefer a simple, all-in-one solution or a modular set that you can tailor to different cleaning tasks? Either approach can deliver a professional-grade look with regular maintenance.